Discover the art of personalizing mugs with laser engraving in this step-by-step guide.
How to customize mugs with laser engraving?
Customizing mugs with laser engraving is a fantastic way to create unique gifts, promotional items, or personal keepsakes. The process not only allows for intricate designs but also offers lasting durability. Whether you’re a small business owner looking to personalize merchandise or a hobbyist trying your hand at crafts, understanding how to effectively use laser engraving can be immensely rewarding. In this article, we will explore the various aspects of customizing mugs with laser engraving, from understanding the technique to executing the engraving process.
Understanding Laser Engraving
Before diving into the specifics of customizing mugs, it’s essential to understand what laser engraving is. This method uses focused laser beams to remove material from the surface of an object, creating designs or text. Unlike traditional engraving, which may require physical tools, laser engraving delivers a more precise and deeper etch.
What is Laser Engraving?
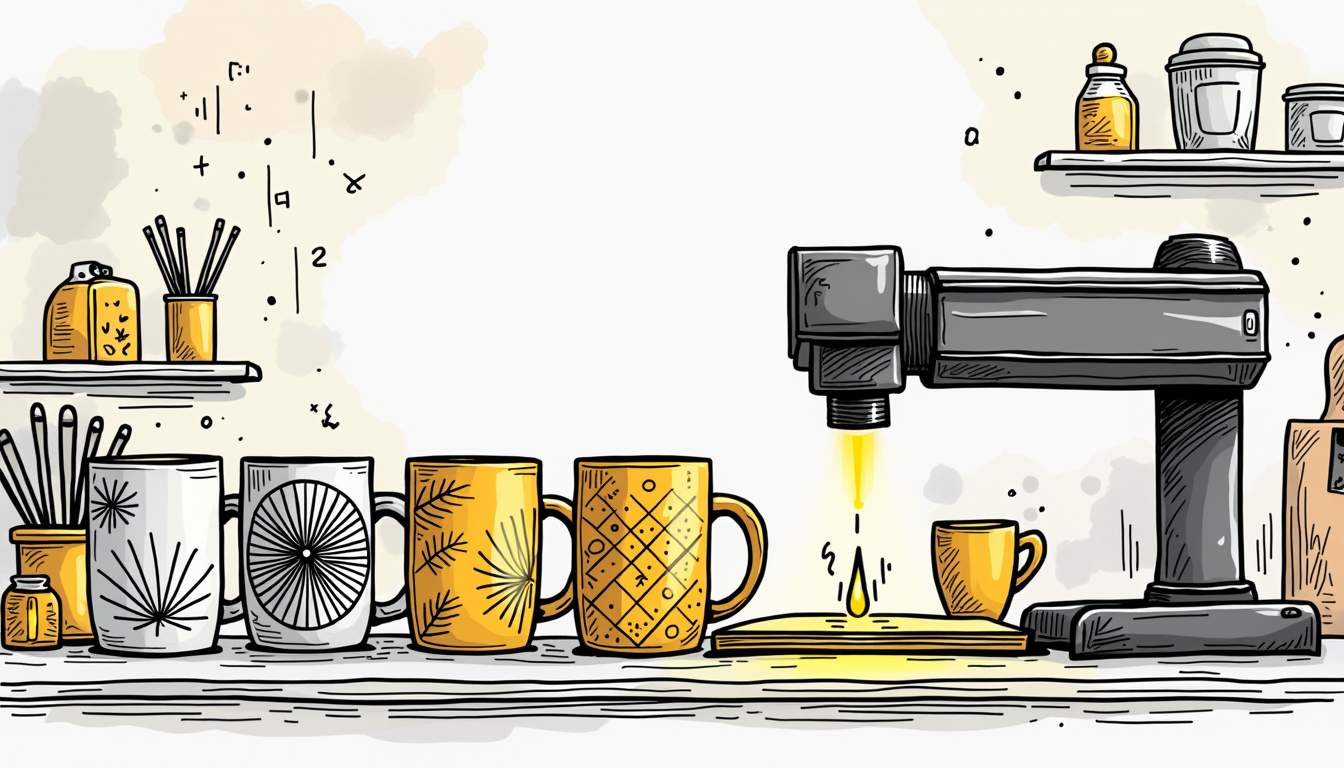
Laser engraving is a non-contact process that uses high-intensity lasers to scorch the surface of materials like wood, metal, and ceramics. By adjusting the intensity and speed of the laser, different depths and effects can be achieved, allowing for a wide range of customization options. It’s not merely a fast process but also one that ensures detailed and clean results.
Benefits of Using Laser Engraving for Customization
Laser engraving offers numerous advantages for customization projects. First and foremost, it provides unparalleled precision, making it ideal for detailed designs. Additionally, the process is versatile; it can be used on various materials, including ceramic mugs, glass, and stainless steel.
Another significant benefit is the efficiency of laser engraving. Once the setup is complete, engravings can be produced rapidly, perfect for bulk orders. Finally, the durability of laser engravings means that the designs are resistant to fading, scratches, and wear, ensuring that your customized mugs last for years to come.
Necessary Equipment for Laser Engraving
To successfully customize mugs through laser engraving, you’ll need some specialized equipment. Understanding how to choose the right tools is crucial for achieving the best results.
Choosing the Right Laser Engraver
When selecting a laser engraver, consider factors such as power, size, and compatibility with various materials. Beginners may start with a desktop laser engraver, which is generally more compact and affordable. For those who require more versatility and power, a CO2 laser engraver is an excellent choice, particularly for ceramic and glass mugs.
Additionally, pay attention to the software that comes with the engraver. Many machines come with user-friendly applications that help you design and adjust work settings according to your needs.
Safety Equipment for Laser Engraving
Safety should always be a priority when undertaking any engraving project. Invest in good-quality safety glasses specifically designed for laser work to protect your eyes from glare and harmful radiation. Additionally, ensure your workspace is well-ventilated to prevent the buildup of smoke and fumes generated during engraving.
Wearing a dust mask can also be beneficial, especially when working with materials that may release particles into the air. Make sure to read up on the safety guidelines related to your specific laser engraver to avoid accidents and mishaps.
Preparing Your Mug for Engraving
With the necessary equipment in hand, the next step is preparing your mug for engraving. Not all mugs are created equal, and proper prep work will yield the best results.
Selecting the Right Mug
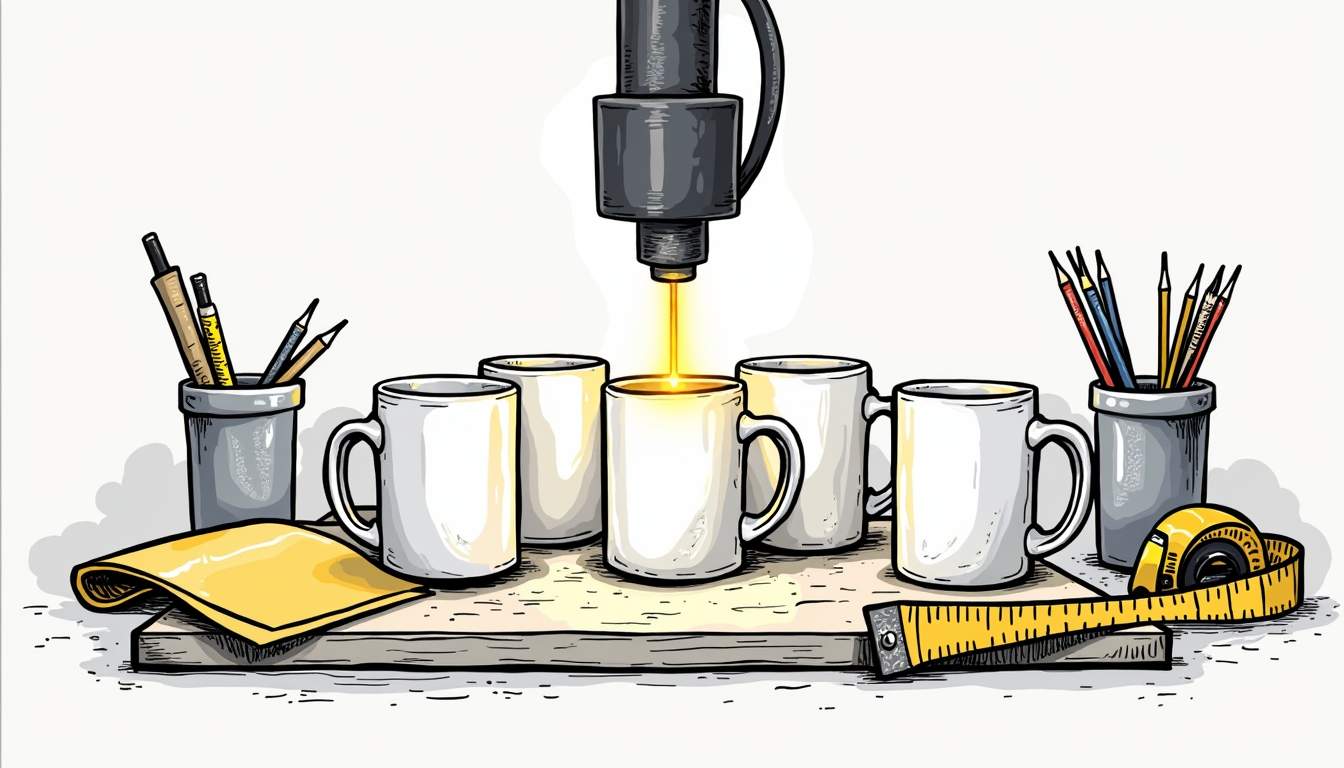
Choosing the right mug is critical for effective laser engraving. Select mugs with a smooth surface, as these allow for cleaner engravings. Ceramic mugs often provide the best results, but stainless steel and glass mugs can also work well with laser engraving.
Check for any coatings or glazes that may affect the engraving process. A mug with a matte finish is usually easier to engrave than one with a glossy finish, which can sometimes interfere with the clarity of the design.
Cleaning and Prepping the Mug
Before you start engraving, it is essential to clean the mug thoroughly. Use a mild detergent and warm water to remove any dust or grease. Dry it completely with a lint-free cloth to avoid any moisture interfering with the engraving process.
For a perfect setup, you might want to adhere a piece of tape or a hold-down fixture to keep the mug steady during engraving, preventing any mishaps.
Designing Your Engraving
After preparing the mug, it’s time to focus on the design of your engraving. This is where creativity comes into play!
Using Design Software
Most laser engravers come with accompanying design software that allows you to create the ideal pattern or logo. Programs like Adobe Illustrator or CorelDRAW are excellent for crafting intricate designs, offering freedom of creativity.
Don’t forget to keep your design simple if you're a beginner. Starting with basic shapes, text, or logos will allow you to get a feel for the engraving process before moving on to more complex designs.
Transferring Your Design to the Engraver
Once your design is finalized, it will need to be transferred to the engraver. Many modern devices offer USB connectivity or even Wi-Fi access. Follow the instructions for your specific model closely to ensure a seamless transfer.
When uploading your design, ensure that the settings align with the type of material you’re engraving, adjusting for factors such as speed and power as needed.
The Engraving Process
With everything set up, you’re just about ready to start engraving. Knowing how to execute the process can make all the difference in achieving a polished final product.
Setting Up the Laser Engraver
Properly setting up your laser engraver is crucial for successful engraving. Double-check that the focus is adjusted, and the engraving bed is clean. Use the appropriate settings based on the mug's material; different mugs will require varying power and speed settings to achieve optimal engraving.
Make sure to preview the design and do a test run on a similar material to ensure your settings produce the desired outcome.
Running the Engraving Process
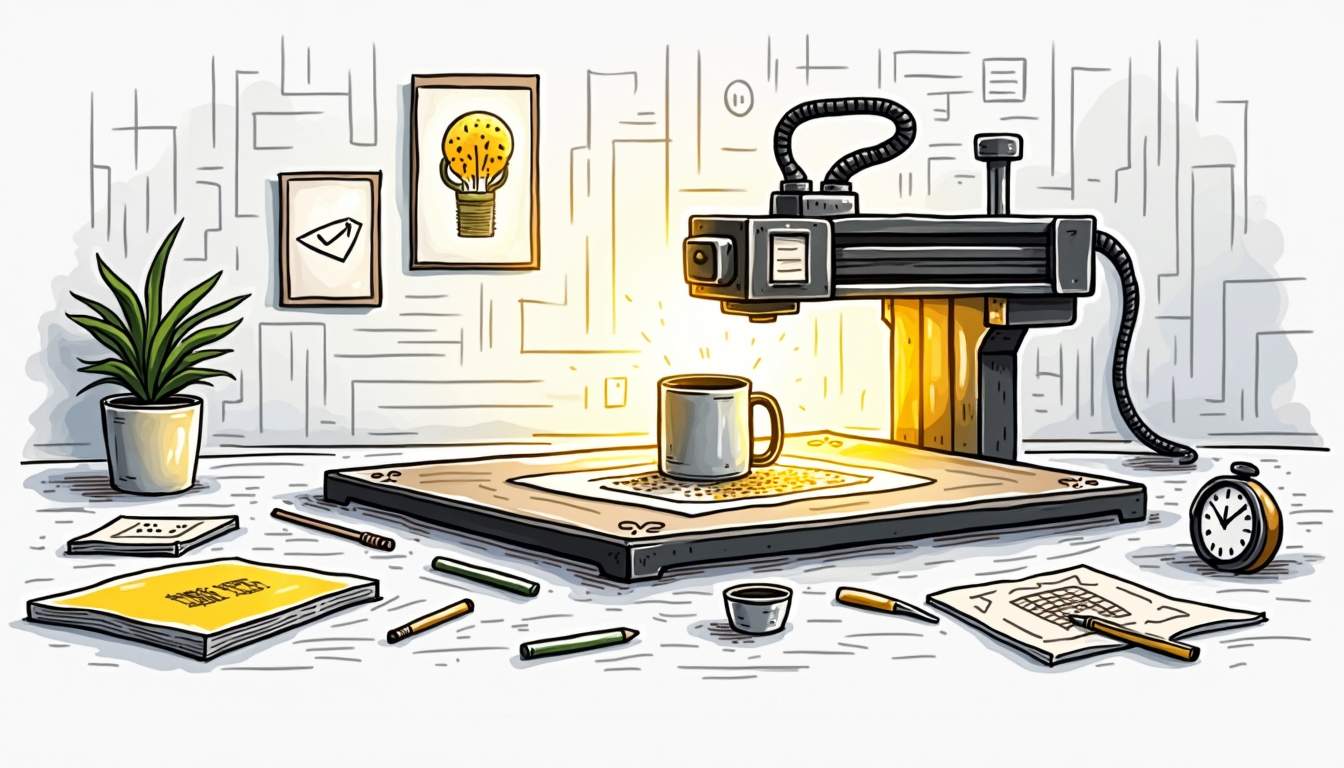
Once you're satisfied with the setup, it’s time to start the engraving process. Keep an eye on the machine while it works to catch any issues that may arise. Depending on the design's complexity, the engraving process could take anywhere from a few minutes to longer, so patience is key.
After the engraving is completed, carefully remove the mug from the engraver—be cautious as it may still be warm. Rinse the mug if necessary to remove any residue, and admire your unique creation!
Conclusion
Customizing mugs with laser engraving is not just a hobby, it’s an exciting way to express creativity and create lasting memories. By understanding the nuances of the process, selecting the right equipment, and executing the steps well, anyone can craft beautifully engraved mugs. So go ahead, unleash your creativity, and enjoy the amazing results that laser engraving can deliver!
Bring Your Custom Mug Designs to Life with Nerds
Ready to turn your laser engraving ideas into reality? At Nerds, we're excited to help you personalize mugs that not only stand out but also speak volumes about your commitment to quality and sustainability. With our expertise in creating custom merchandise, your logo will shine on our high-quality mugs, forging lasting connections with every sip. Don't wait to make an impression—Shop Now and start crafting your unique message with a touch of creativity and care.