Discover the art of personalizing your wardrobe with our step-by-step guide on customizing t-shirts with embroidery.
How to customize t-shirts with embroidery?
Embroidery is a fantastic way to personalize and elevate your t-shirt game. Whether you're aiming for a cool casual look or creating branded merchandise, customization with embroidery adds a touch of flair. In this article, we'll take you step-by-step through understanding the basics of embroidery, the necessary tools, how to prepare your t-shirts, designing your unique patterns, and finally, the embroidery process itself. So grab your sewing kit and let’s get started!
Understanding the Basics of Embroidery
Before diving into customization, it’s essential to grasp what embroidery truly is. At its core, embroidery is the art of decorating fabric using a needle and thread. While the technique has ancient roots, modern advancements have made it both accessible and versatile. Historically, embroidery has been used to convey status and artistry, with intricate designs often representing cultural significance. Today, it serves as a medium for self-expression, allowing individuals to showcase their unique style through personalized creations.
What is Embroidery?
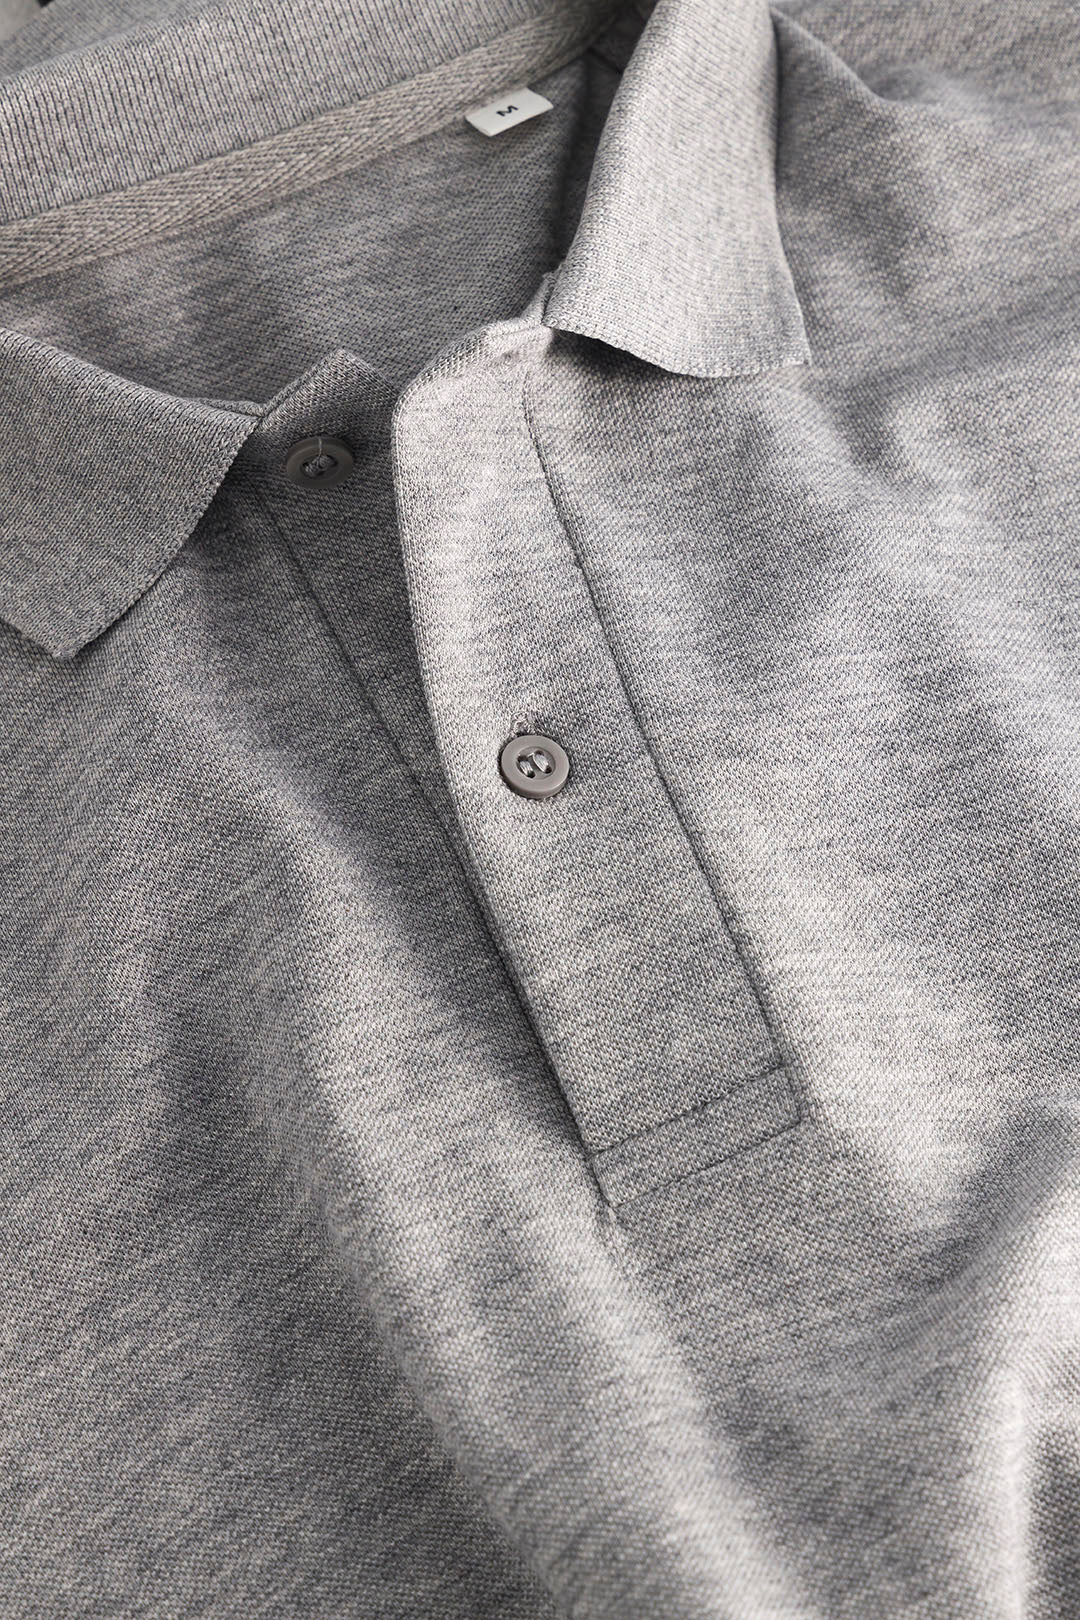
Embroidery involves stitching designs onto fabric using various threads and techniques. From simple monograms to elaborate logo designs, this craft can transform ordinary t-shirts into personalized statement pieces. There are various types of embroidery: hand-embroidery, machine embroidery, and even digital embroidery, each with its unique charm and applicability. Hand-embroidery, for instance, offers a tactile quality that machine embroidery often lacks, allowing for a more intimate connection between the creator and the piece. Conversely, machine embroidery can produce intricate designs with remarkable precision and speed, making it ideal for larger projects or commercial applications.
The Importance of Quality Materials
Craftsmanship is only as good as your materials. Investing in high-quality threads and fabrics will significantly impact the longevity and visual appeal of your embroidered designs. Look for threads that have vibrant colors and are resistant to fading. Similarly, choose t-shirts made from sturdy fabric that withstands wear and tear. Additionally, consider the type of needle used; a needle suited for your specific fabric can make a world of difference in the final result. For example, using a ballpoint needle on knit fabrics helps prevent snags, while a sharp needle is better for woven materials. The right combination of materials and tools not only enhances the quality of the embroidery but also enriches the overall crafting experience, making it more enjoyable and rewarding.
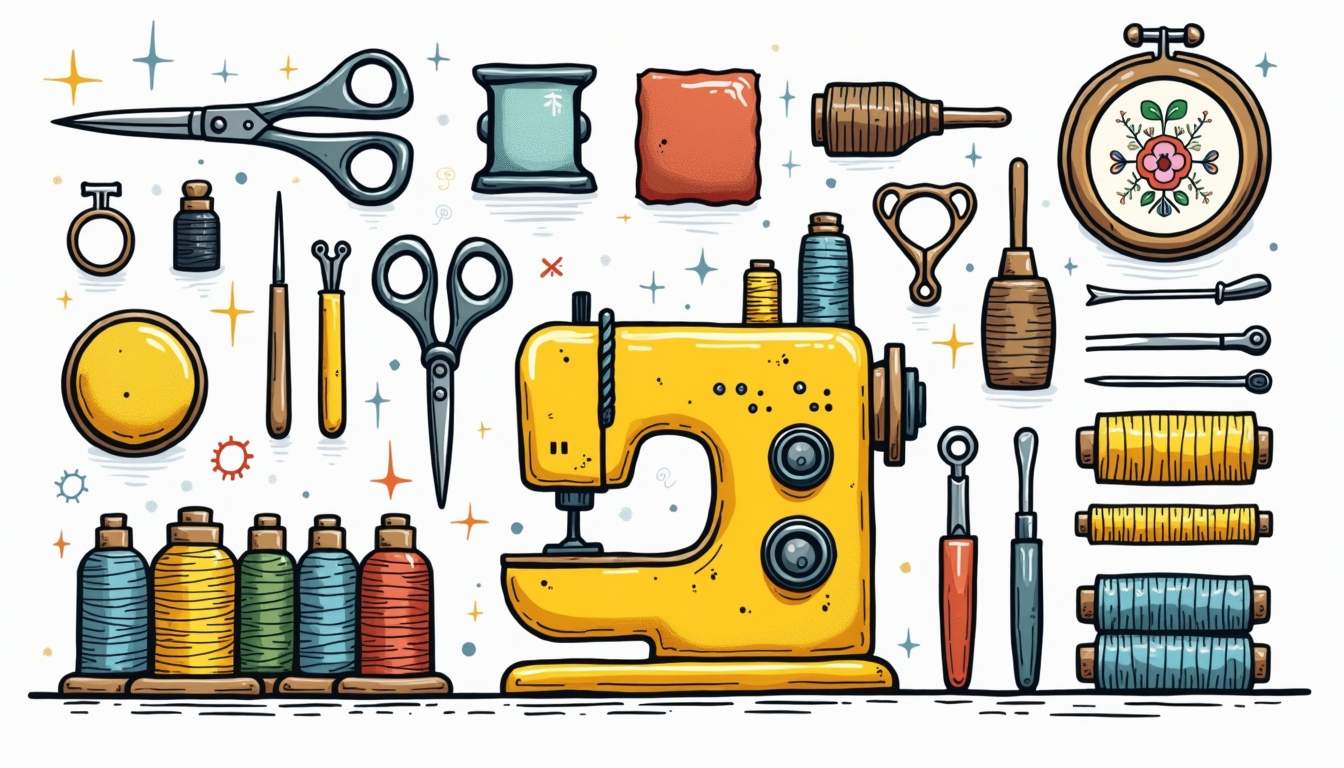
Necessary Tools for Embroidery
Once you have a solid understanding of embroidery, it's time to gather your tools. Having the right equipment at your disposal can make all the difference, whether you're a beginner or an experienced embroiderer.
Choosing the Right Embroidery Machine
If you’re serious about embroidery, investing in a good embroidery machine is paramount. Look for one that has multiple stitch options, is easy to use, and can handle the types of fabric you’ll be working with. Brands like Brother and Janome offer great options for both enthusiasts and professionals alike. Additionally, consider features such as automatic thread cutting, built-in designs, and USB connectivity for importing your own patterns, which can greatly enhance your creativity and efficiency.
Other Essential Embroidery Tools
Besides an embroidery machine, several other tools can enhance your embroidery experience:
- Embroidery Hoops: These keep your fabric taut while you work, ensuring even stitching.
- Scissors: A sharp pair of scissors is essential for trimming threads and finishing touches.
- Stabilizers: These help prevent the fabric from puckering during the embroidery process.
- Threads and Needles: Ensure you have a variety of threads suitable for the desired finish, along with compatible needles.
Moreover, consider investing in a quality embroidery design software. This software can allow you to create custom designs, modify existing patterns, and even convert images into embroidery files. With the right software, your creative possibilities are virtually endless. Additionally, a good light source is often overlooked but can significantly improve your stitching experience. Whether it’s a desk lamp with adjustable brightness or a portable LED light, proper illumination can reduce eye strain and help you see your work more clearly, especially when working on intricate designs.
Preparing Your T-Shirt for Embroidery
Now that you have all your tools, it’s time to choose and prepare your t-shirt. The right shirt can make or break your design efforts.
Selecting the Perfect T-Shirt
When picking a t-shirt, consider the fabric type and weight. Cotton blends are usually a good choice as they are comfortable and easy to embroider. Also, think about color—darker fabrics can sometimes show thread colors more vividly than lighter ones. Additionally, consider the fit of the t-shirt; a looser fit can provide more space for intricate designs, while a fitted shirt may require more careful placement of the embroidery to avoid distortion. Don't forget to check the fabric's weave; tighter weaves often yield better results as they hold the stitches more securely.
Prepping the T-Shirt for Embroidery
Once you’ve selected your t-shirt, it’s time to get it ready. Wash the shirt before you start to remove any sizing or chemicals. After washing, iron out any wrinkles to create a smooth surface for your design. If you’re using a stabilizer, be sure to attach it to the inside of the shirt at this stage. This will provide the necessary support during embroidery. It's also a good idea to mark the area where you plan to embroider with tailor's chalk or a fabric marker; this ensures precise placement and helps you visualize how the final product will look. Furthermore, consider testing your embroidery design on a scrap piece of fabric similar to your t-shirt to fine-tune your settings and techniques before committing to the actual garment.
Designing Your Embroidery Pattern
With your shirt prepped and ready, it’s time to unleash your creativity. This is where your vision starts to take shape!
Creating a Unique Design
When designing your embroidery, think about what message or image you want to convey. You could sketch ideas on paper or use software designed for embroidery digitizing. The key is to keep your design suitable for the size of the area you plan to embroider; complex designs may need to be simplified for the best results. Consider incorporating elements that reflect your personality or interests, such as favorite quotes, symbols, or even motifs inspired by nature. This personal touch not only makes your embroidery unique but also adds a layer of meaning that can resonate with others.
Additionally, color choice plays a crucial role in the overall impact of your design. Think about the color of the fabric and how your thread colors will contrast or complement it. Using a color wheel can help you identify harmonious color combinations, ensuring that your design stands out while still being aesthetically pleasing. Don’t shy away from experimenting with different textures and thread types, as these can add depth and dimension to your embroidery, making it even more captivating.
Transferring the Design onto the T-Shirt
After finalizing your design, transferring it onto the shirt is your next step. You can trace the design directly onto the fabric with a fabric pen or use transfer paper to achieve more detailed designs. Ensure everything is centered and straight before proceeding to the embroidery stage. If you're using transfer paper, remember to follow the manufacturer's instructions carefully to avoid any mishaps, such as smudging or misalignment.
Another effective method is to use a lightbox or a window to help you see your design through the fabric, making it easier to trace accurately. For those who prefer a more high-tech approach, consider using an embroidery machine that can read your digital design file directly. This not only saves time but also ensures precision in your stitching. Whichever method you choose, take your time during this stage; a well-transferred design lays the foundation for a successful embroidery project, allowing your creativity to shine through in every stitch.
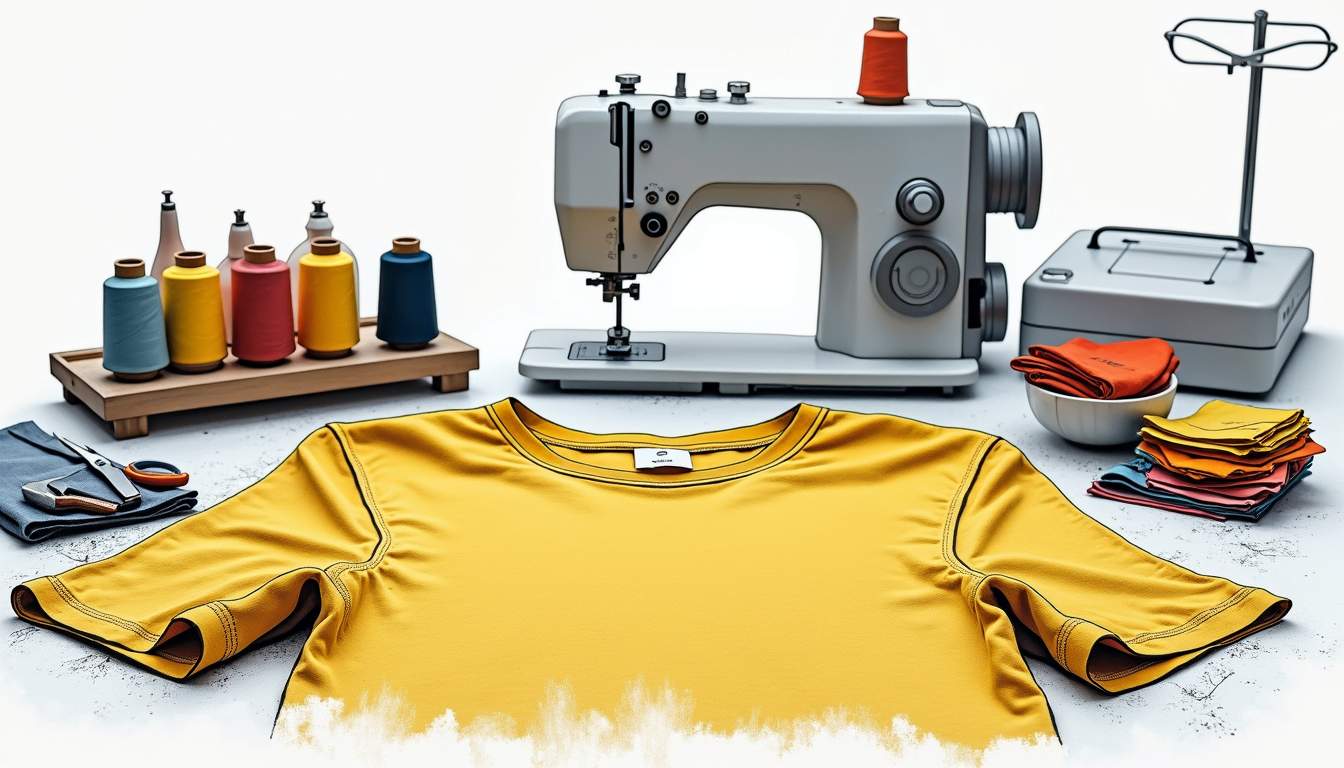
The Embroidery Process
Now comes the moment we’ve all been waiting for: embroidering your design! This stage can be both exciting and a bit nerve-wracking, but don’t worry, it’s all part of the process.
Threading the Embroidery Machine
Begin by threading your machine according to the manufacturer's instructions. This step is crucial, so take your time to make sure everything is properly threaded. Incorrect threading can lead to snags, tangles, and an overall frustrating experience. Prepare your bobbin and choose your thread colors wisely—sometimes, a pop of contrasting color can add flair to your design. Additionally, consider the type of thread you are using; polyester threads are known for their durability and vibrant colors, while cotton threads offer a more vintage look. Experimenting with different thread types can yield unique textures and finishes that elevate your embroidery work.
Starting the Embroidery Process
Finally, place your t-shirt in the machine and hit start! As it embroiders, keep an eye on the process to catch any potential issues early. It's also a good idea to have a small lint brush handy to clean the needle area if you notice any thread buildup. Once it's done, carefully take the shirt out, trim any loose threads, and give your new design a final inspection. This is also the perfect time to assess the overall quality of your embroidery; check for any uneven stitches or areas that may need a little touch-up. Remember, the beauty of embroidery lies in its handmade charm, so don’t be too hard on yourself if everything isn’t perfect.
And there you have it! You’ve learned how to customize t-shirts with embroidery from start to finish. With practice and creativity, you can create stunning pieces that showcase your style and personality. Happy embroidering! As you dive deeper into the world of embroidery, consider exploring various techniques such as free-motion embroidery or appliqué, which can add even more depth and character to your projects. Each technique offers a new way to express your creativity and can transform a simple t-shirt into a unique wearable art piece that tells a story. Embrace the journey of learning and let your imagination run wild!
Bring Your Custom Embroidery to Life with Nerds
Ready to showcase your style and personality on a larger scale? At Nerds, we specialize in bringing your custom embroidery designs to life on sustainable, high-quality t-shirts. Whether you're boosting your brand presence or searching for the perfect personalized gift, our bespoke merchandise is crafted to make a lasting impression. Elevate your embroidery journey and Shop Now to start creating your custom t-shirts with us today!